Getting Started
Chronom's onboarding wizard walks you through connecting your cloud and SaaS environments in just a few minutes. The wizard guides you step-by-step through the entire setup process, including permission verification and your first scan.
Step 1: Company Profile
When you first sign in, Chronom asks for a few details about your organization so it can tailor the experience.

Fill in the following fields:
| Field | Description |
|---|---|
| Domain | Your company's website (e.g. https://company.com) |
| Industry | Select your industry from the dropdown |
| Company Size | Approximate number of employees |
| Compliance Frameworks | Select any compliance frameworks your organization follows |
Once the form is filled in, click Continue to proceed.
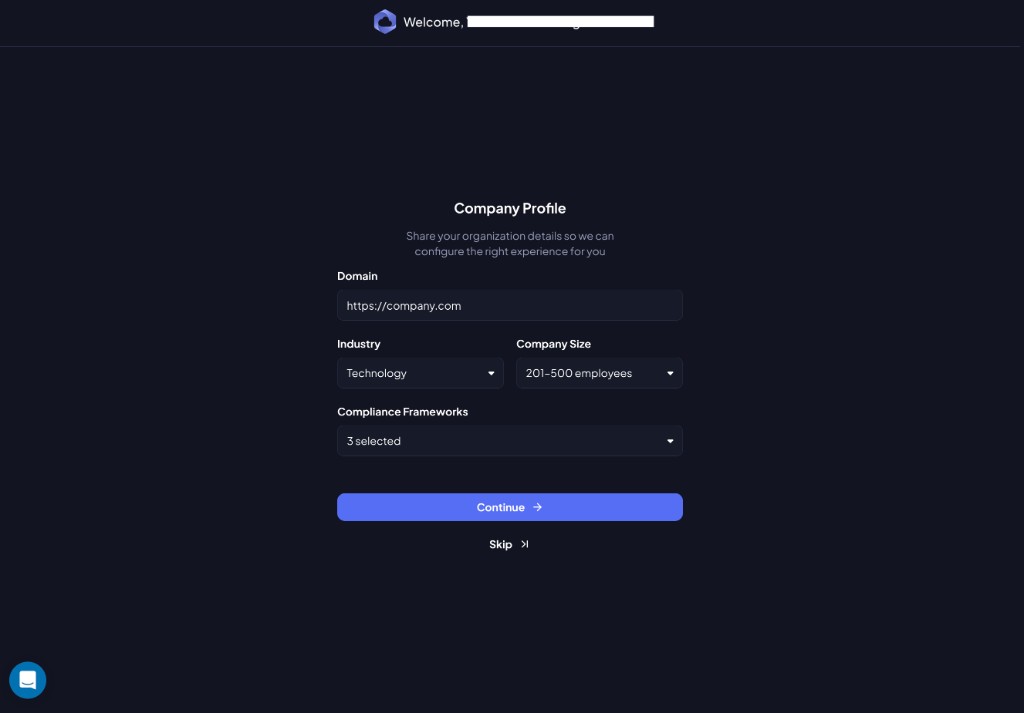
You can skip this step and complete it later from Settings > General. See the KYC guide for details.
Step 2: Select Connection Type
Choose which cloud or SaaS environment you want to connect first.
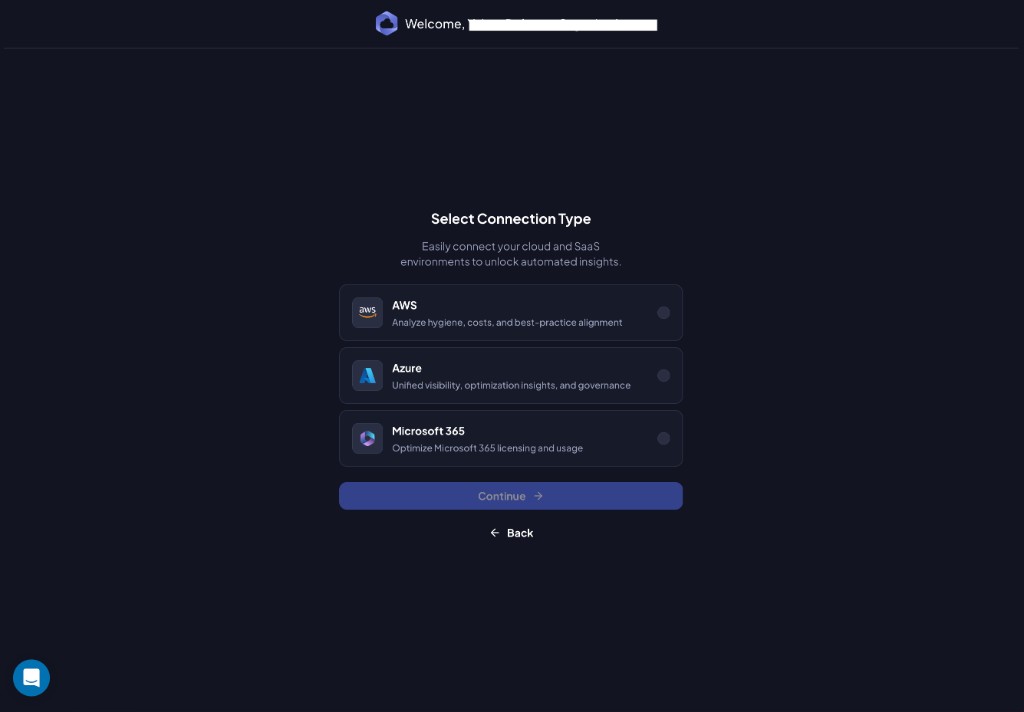
Chronom supports three connection types:
| Connection | Description |
|---|---|
| AWS | Analyze hygiene, costs, and best-practice alignment across your AWS accounts |
| Azure | Unified visibility, optimization insights, and governance for your Azure subscriptions |
| Microsoft 365 | Optimize Microsoft 365 licensing and usage |
Select one and click Continue to begin the provider-specific setup.
You can connect additional providers later from Settings. You are not limited to a single connection type.
Next Steps
Follow the guide for the provider you selected:
- Azure Onboarding - Connect your Azure tenant and subscriptions
- AWS Onboarding - Connect your AWS accounts via CloudFormation
- Microsoft 365 Onboarding - Connect your M365 tenant for license optimization