Azure Onboarding
This guide walks you through connecting your Azure environment to Chronom using the onboarding wizard. By the end, Chronom will be scanning your Azure subscriptions and delivering insights.
For advanced users or CLI-based setup, refer to the detailed Azure Integration guides.
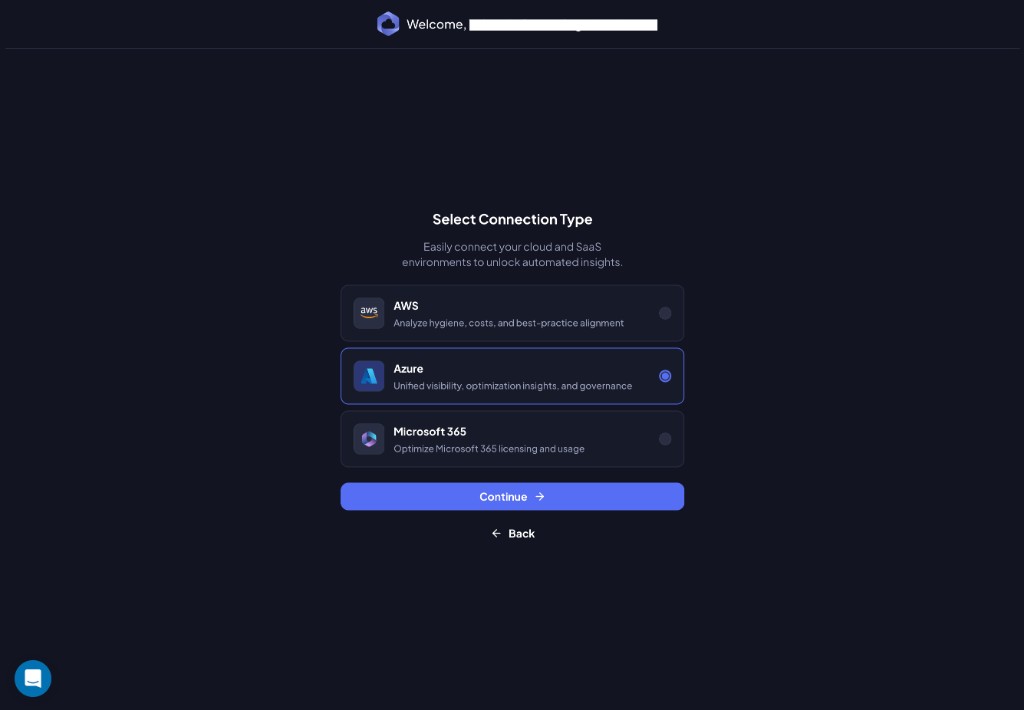
Step 1: Select Azure
On the Select Connection Type screen, choose Azure and click Continue.
Step 2: Create an Azure App Registration
Chronom displays the App Registration details you need to create in Azure. The following values are pre-filled for you:
- Name:
Chronom Read-Only App Registration - Supported account types:
Accounts in this organizational directory only (Microsoft only - Single tenant) - Platform:
Web - URI:
https://app.chronom.ai
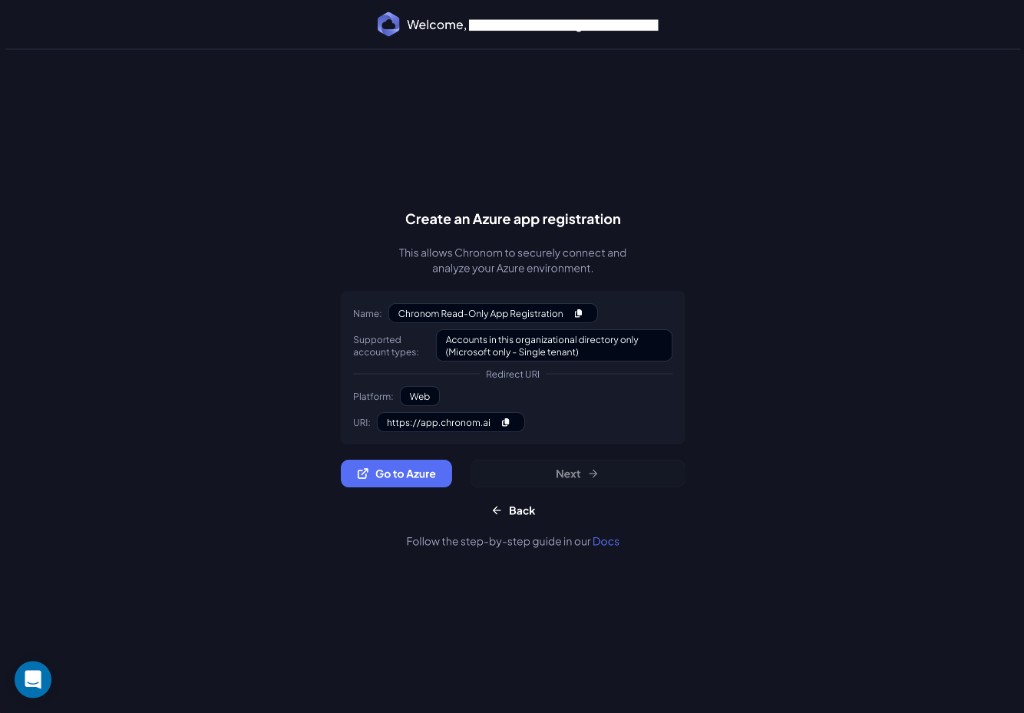
Click Go to Azure to open the Azure Portal and create the App Registration using these values.
For a detailed walkthrough of the Azure Portal steps, see Create a New Azure App Registration.
Once you've created the App Registration in Azure, return to Chronom and click Next.

Step 3: Setup Access in Azure
Enter the credentials from the App Registration you just created:
| Field | Where to find it |
|---|---|
| Tenant Name | The name of your Azure tenant |
| Tenant ID | Entra ID → Overview → Tenant ID |
| Client ID | App Registrations → your app → Application (client) ID |
| Client Secret | The secret value created in the next step |
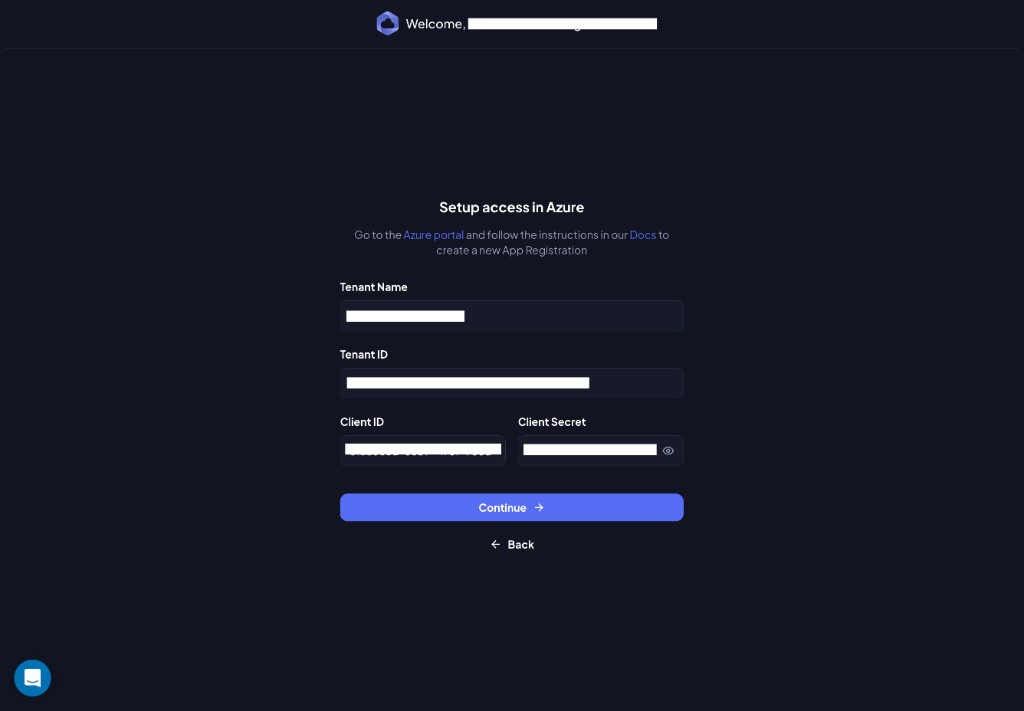
Click Continue when all fields are filled.
Step 4: Create a Client Secret
This screen prompts you to create a Client Secret for the App Registration in Azure.
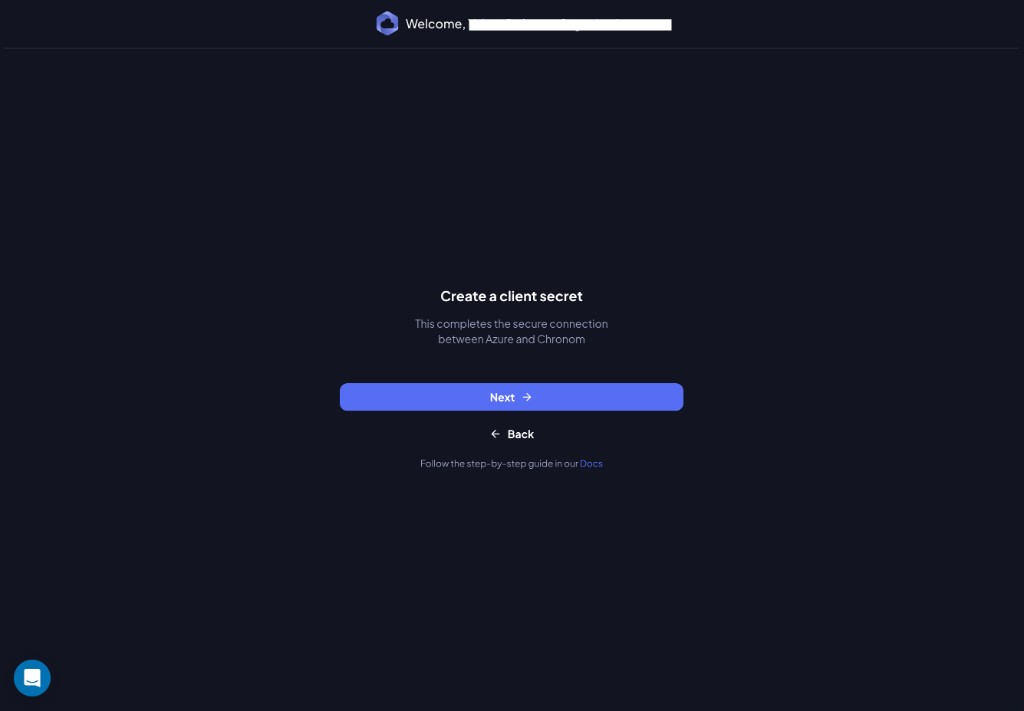
Follow the link to the Docs at the bottom of the screen for step-by-step instructions, or refer to Step 3 of the App Registration guide.
Click Next once you've created the secret and entered it in the previous step.
Handle your Client Secret with extreme care. Only share it through Chronom's onboarding wizard. Chronom will never ask for it via email or any other channel.
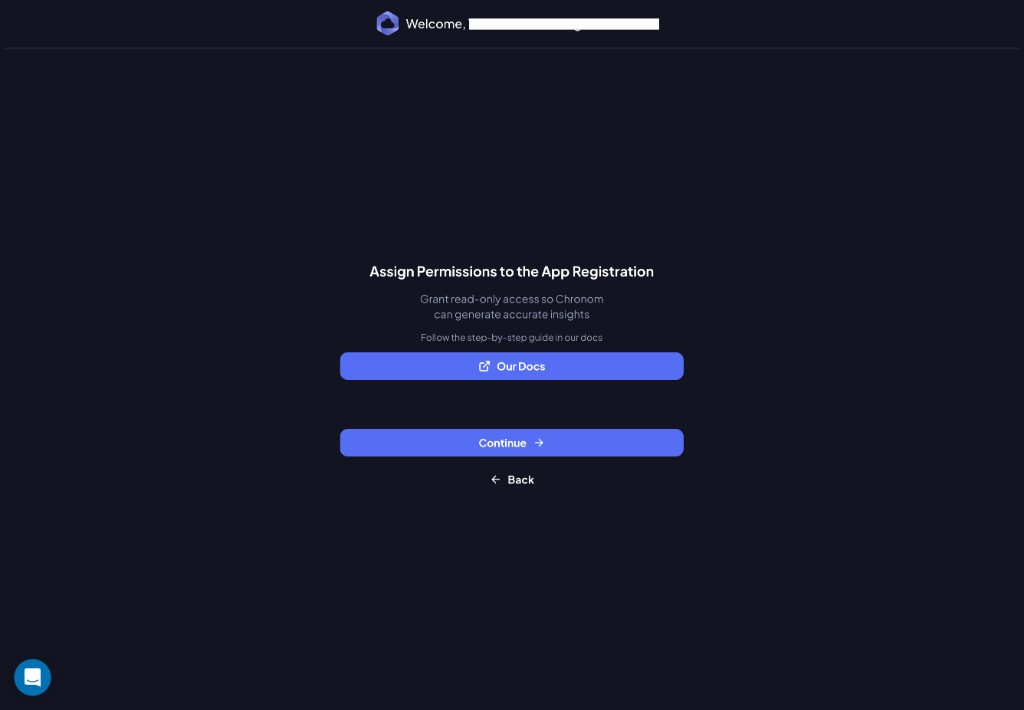
Step 5: Assign Permissions to the App Registration
Grant the App Registration the required API permissions (Microsoft Graph) in Azure.
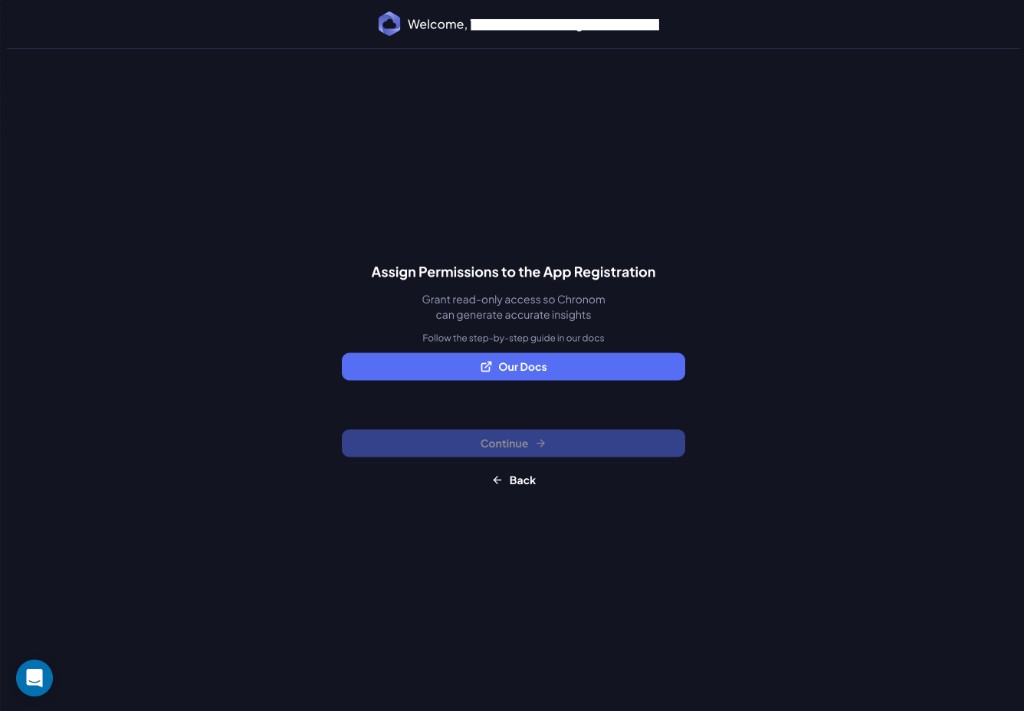
Click Our Docs for the detailed permission setup guide, or refer to Step 2 of the App Registration guide.
Once you've granted and admin-consented the permissions in Azure, click Continue.
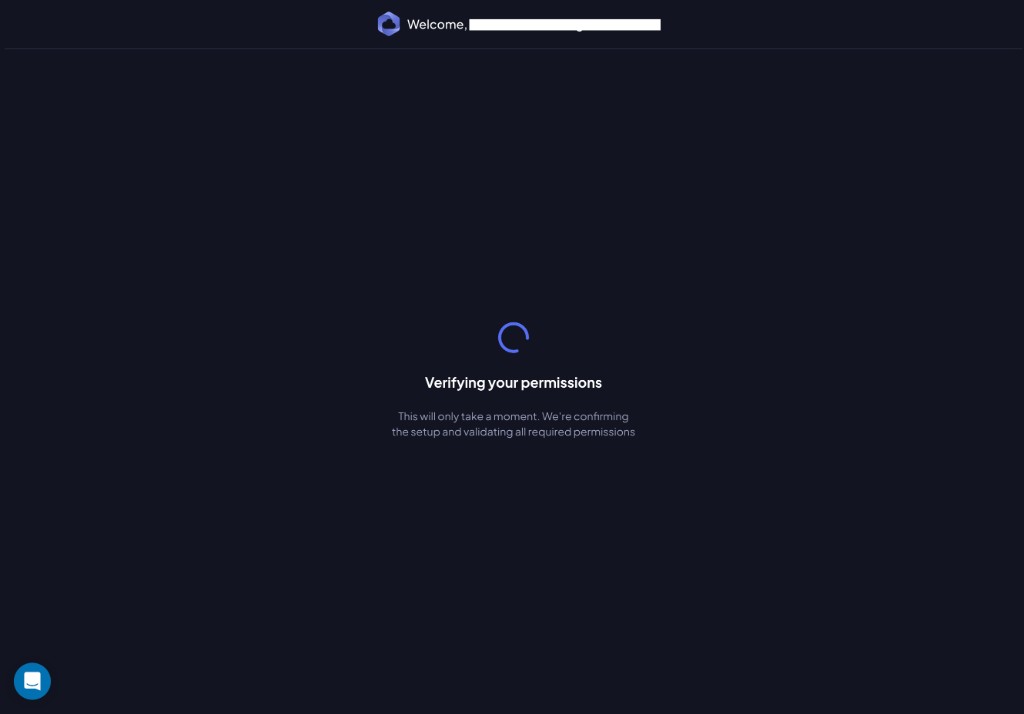
Step 6: Permission Verification
Chronom automatically verifies that all tenant-level permissions are configured correctly.
If everything is set up correctly, you'll see the success screen:
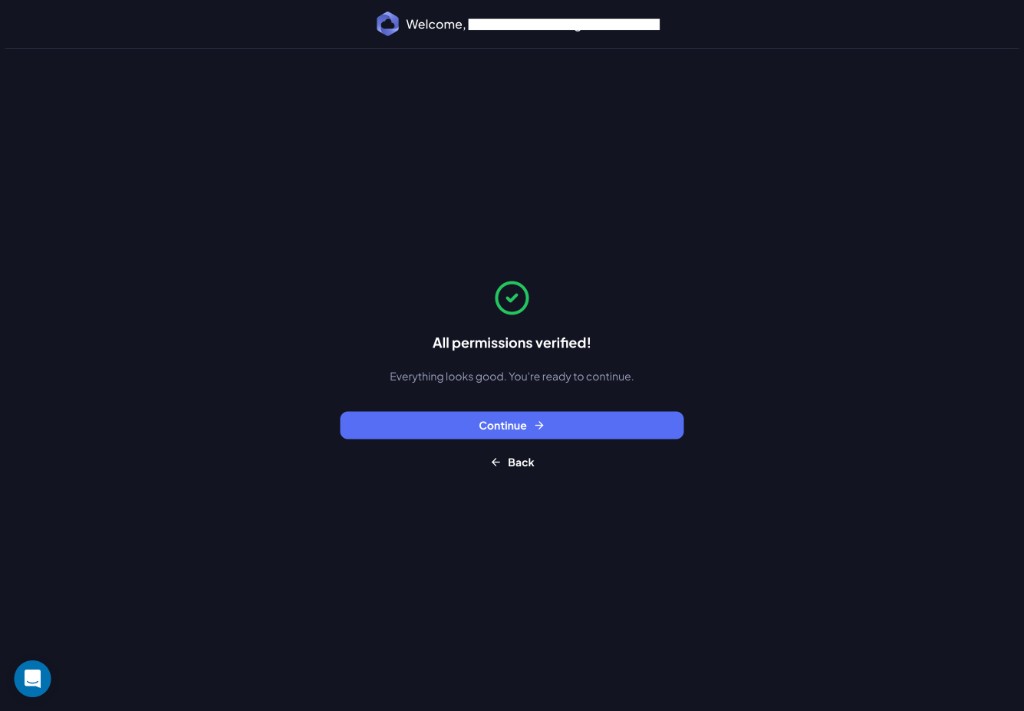
Click Continue to proceed.
Step 7: Configure Subscription Level Permissions
Choose how you want to grant Chronom access to your Azure subscriptions:
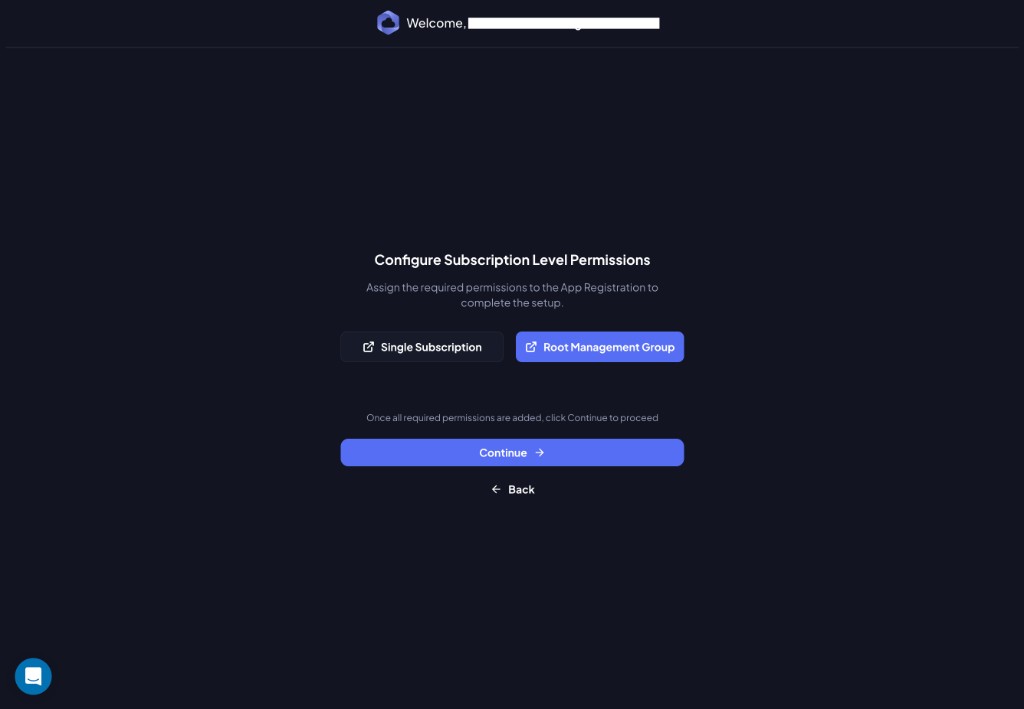
| Option | Description |
|---|---|
| Single Subscription | Grant access one subscription at a time. Best for targeted setups. See Grant Single Subscription Permissions. |
| Root Management Group | Grant access to all subscriptions at once through the root management group. Best for organization-wide deployments. See Grant Root Management Group Permissions. |
Click the button for your preferred method - it will open the relevant documentation. Once permissions are granted in Azure, return to Chronom and click Continue.
Step 8: Select Subscriptions to Scan
Chronom detects the Azure subscriptions your App Registration has access to. Select the ones you want to scan:
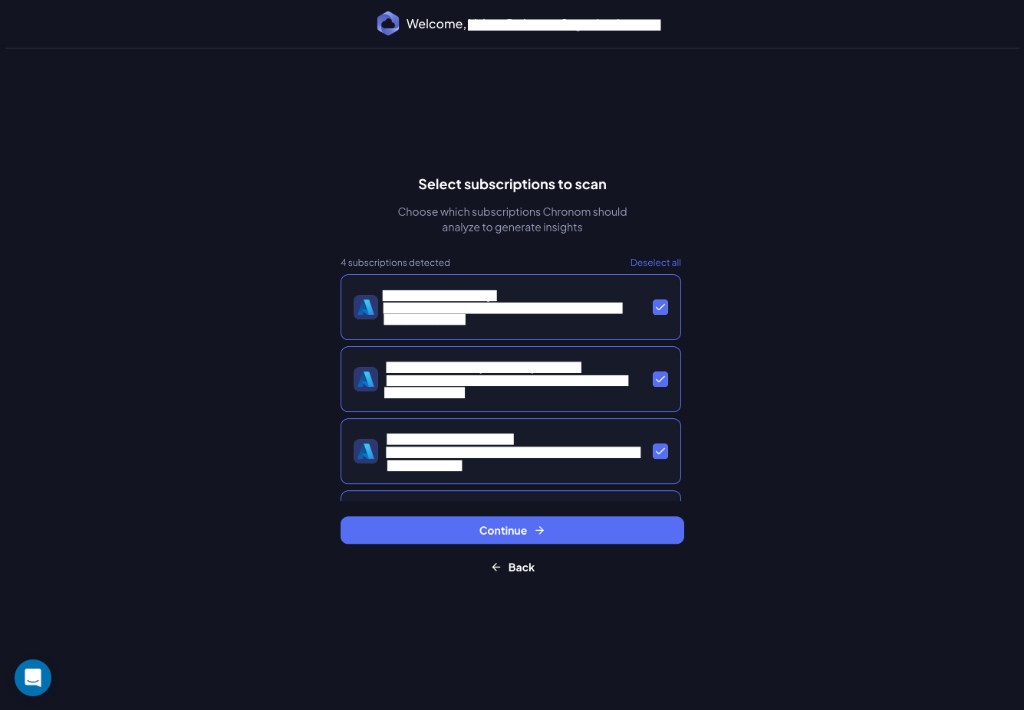
Use the checkboxes to include or exclude subscriptions, then click Continue.
Step 9: Set Scan Frequency
Choose how often Chronom scans your environment for changes, risks, and opportunities.
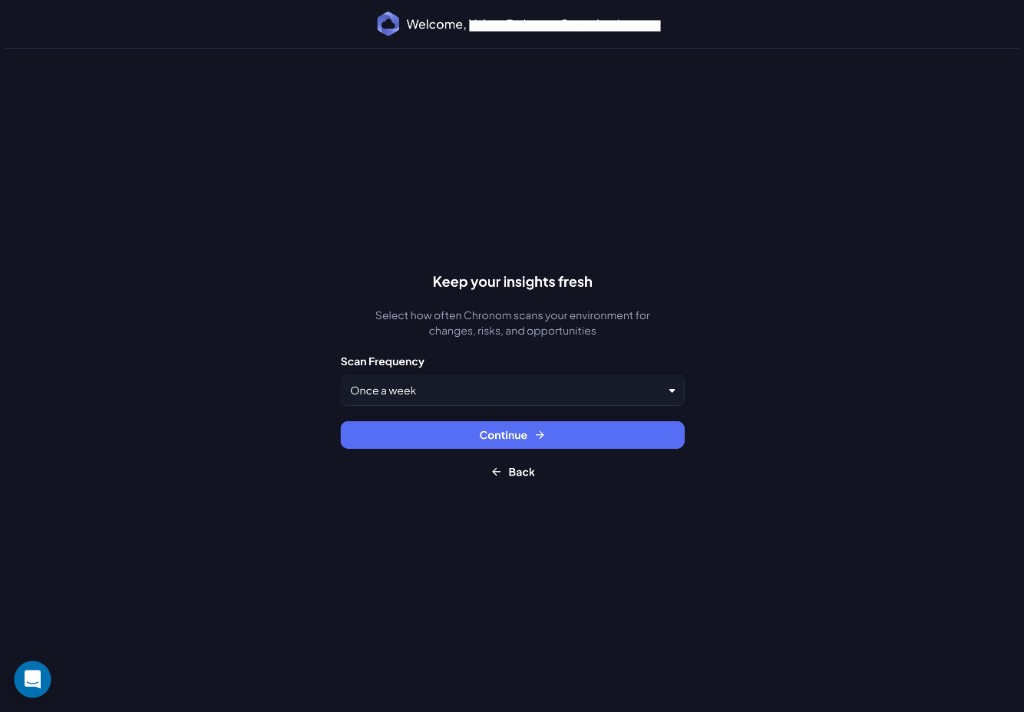
Select a frequency from the Scan Frequency dropdown and click Continue.
Step 10: You're All Set!
Chronom has started analyzing your Azure environment. You'll receive an email notification when the first scan is complete.

Click Continue to enter the Chronom dashboard.
Troubleshooting
Could not verify credentials
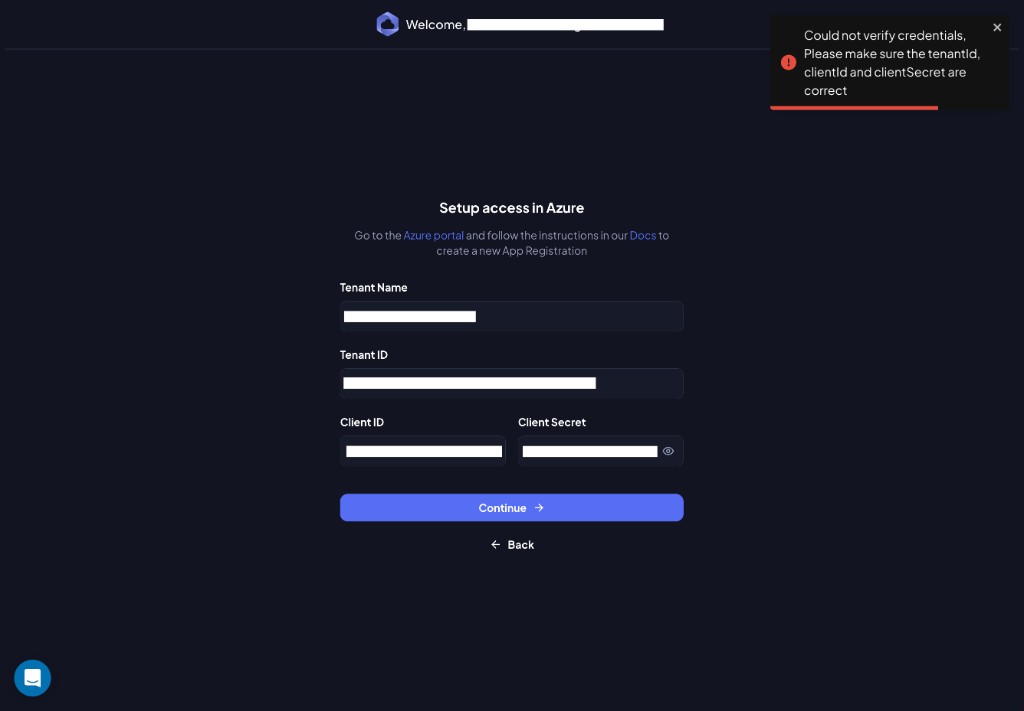
Cause: The Tenant ID, Client ID, or Client Secret you entered is incorrect.
Resolution:
- Double-check the Tenant ID and Client ID in
Entra ID→App Registrations→ your app. - Verify the Client Secret value - it is only shown once after creation. If you lost it, create a new one.
- Make sure you are using the Value of the secret (not the Secret ID).
- Click Back and re-enter the correct credentials.
Tenant already exists
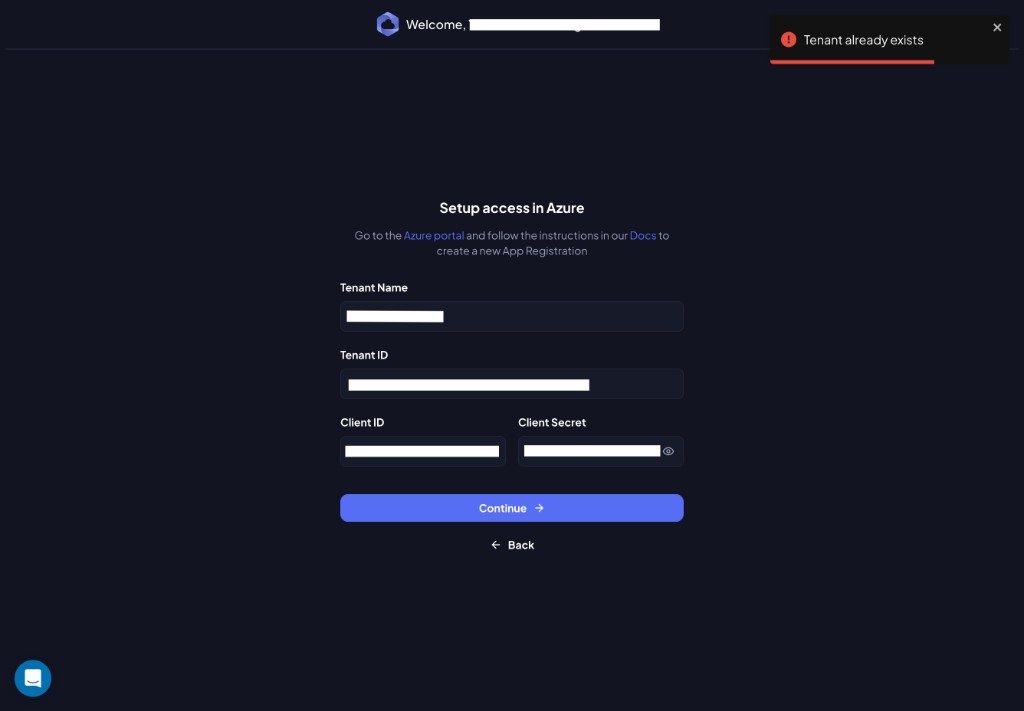
Cause: This Azure tenant has already been connected to Chronom (possibly by another team member or in a different organization).
Resolution:
- If you manage multiple Chronom organizations, check that you're in the correct one.
- Contact support@chronom.ai if you believe this is an error.