Microsoft 365 Onboarding
This guide walks you through connecting your Microsoft 365 environment to Chronom using the onboarding wizard. Once connected, Chronom will analyze your M365 licenses and identify optimization opportunities.
For manual setup or CLI-based configuration, refer to the Azure App Registration guide - M365 uses the same Azure AD App Registration mechanism.
Overview
Microsoft 365 integration uses an Azure App Registration with specific Microsoft Graph API permissions to read your license and usage data. The onboarding wizard guides you through creating the App Registration, granting the required permissions, and connecting it to Chronom.
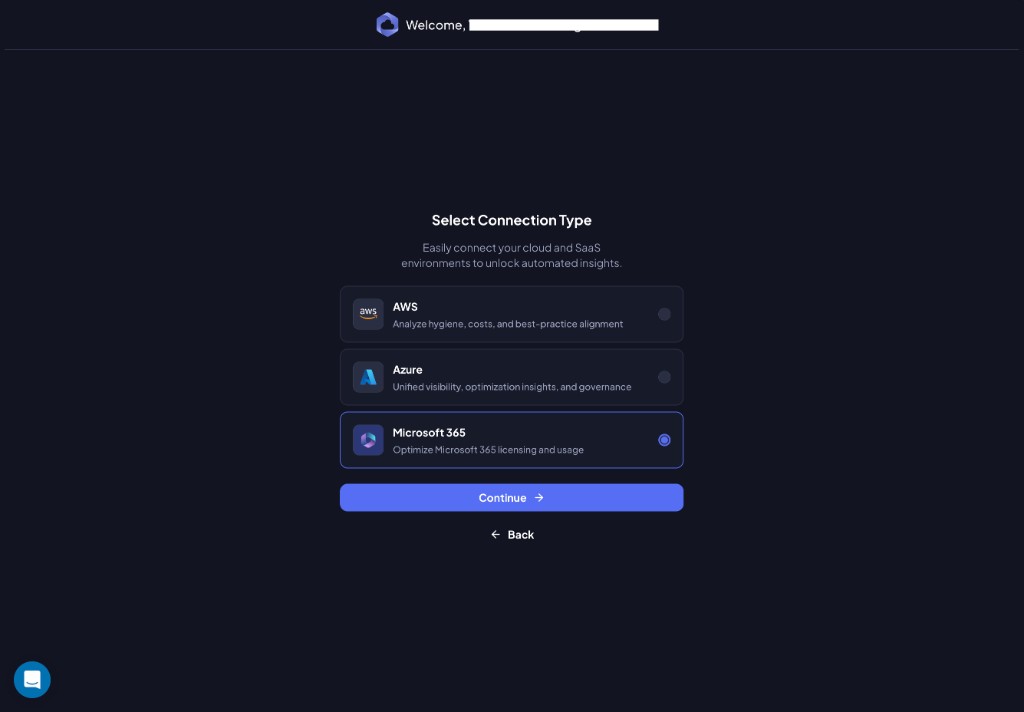
Step 1: Select Microsoft 365
On the Select Connection Type screen, choose Microsoft 365 and click Continue.
Step 2: Create an Azure App Registration
Even though you're connecting Microsoft 365, the connection is made through an Azure App Registration in your Microsoft Entra ID tenant.
Chronom displays the App Registration details you need to create:
- Name:
Chronom Read-Only App Registration - Supported account types:
Accounts in this organizational directory only (Microsoft only - Single tenant) - Platform:
Web - URI:
https://app.chronom.ai
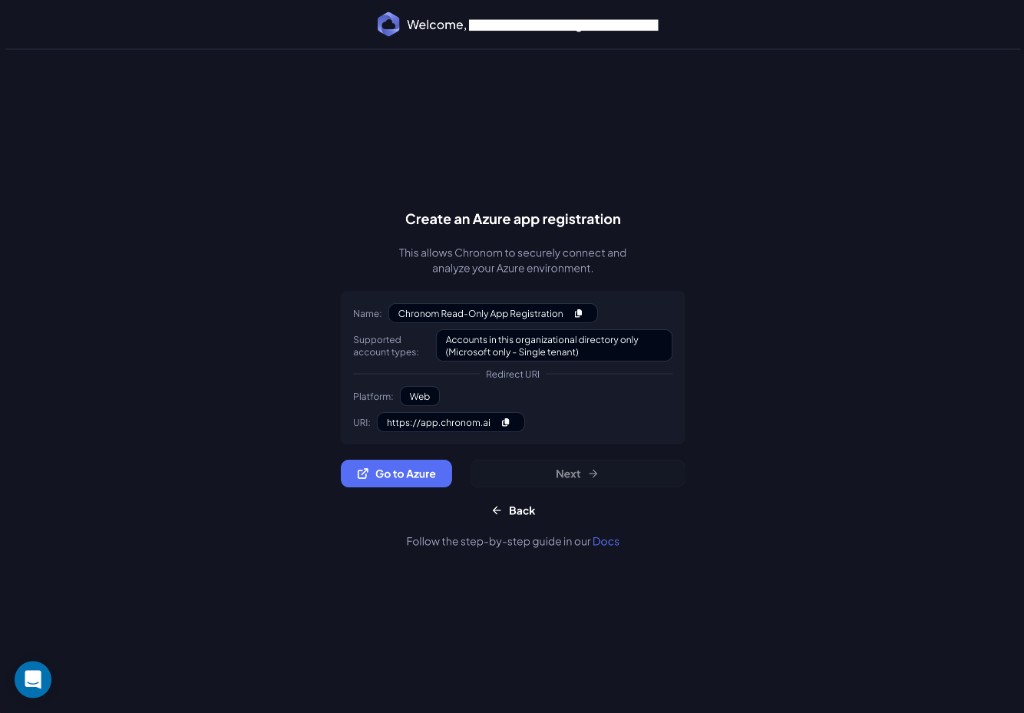
Click Go to Azure to open the Azure Portal and create the App Registration using these values.
For a detailed walkthrough of the Azure Portal steps, see Create a New Azure App Registration.
Once created, return to Chronom and click Next.

Step 3: Setup Access in Azure
Enter the credentials from the App Registration:
| Field | Where to find it |
|---|---|
| Tenant Name | The name of your Azure/M365 tenant |
| Tenant ID | Entra ID → Overview → Tenant ID |
| Client ID | App Registrations → your app → Application (client) ID |
| Client Secret | The secret value created in the next step |
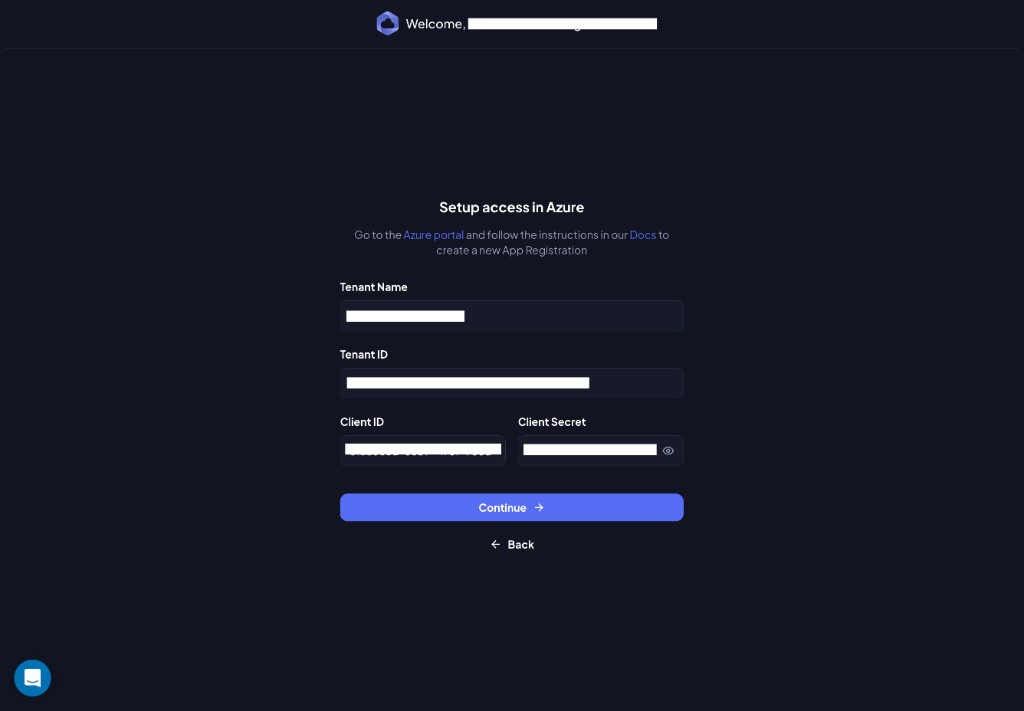
Click Continue when all fields are filled.
Step 4: Create a Client Secret
Create a Client Secret for the App Registration in the Azure Portal. Follow the link to Docs at the bottom of the screen, or refer to Step 3 of the App Registration guide.
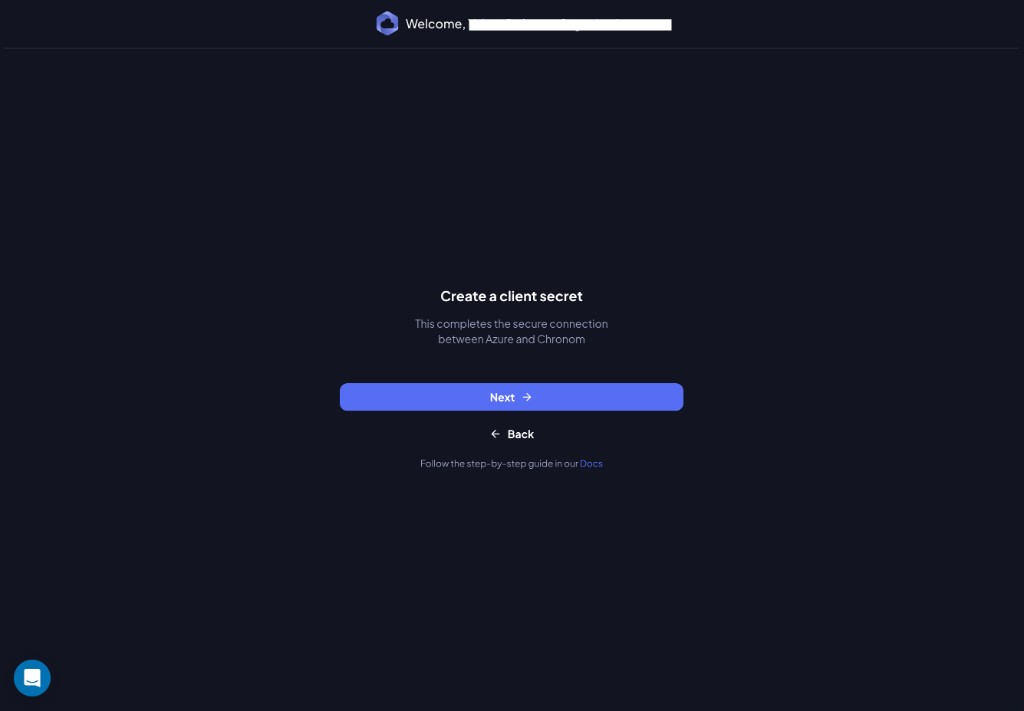
Click Next once the secret is created.
Handle your Client Secret with extreme care. Only share it through Chronom's onboarding wizard. Chronom will never ask for it via email or any other channel.
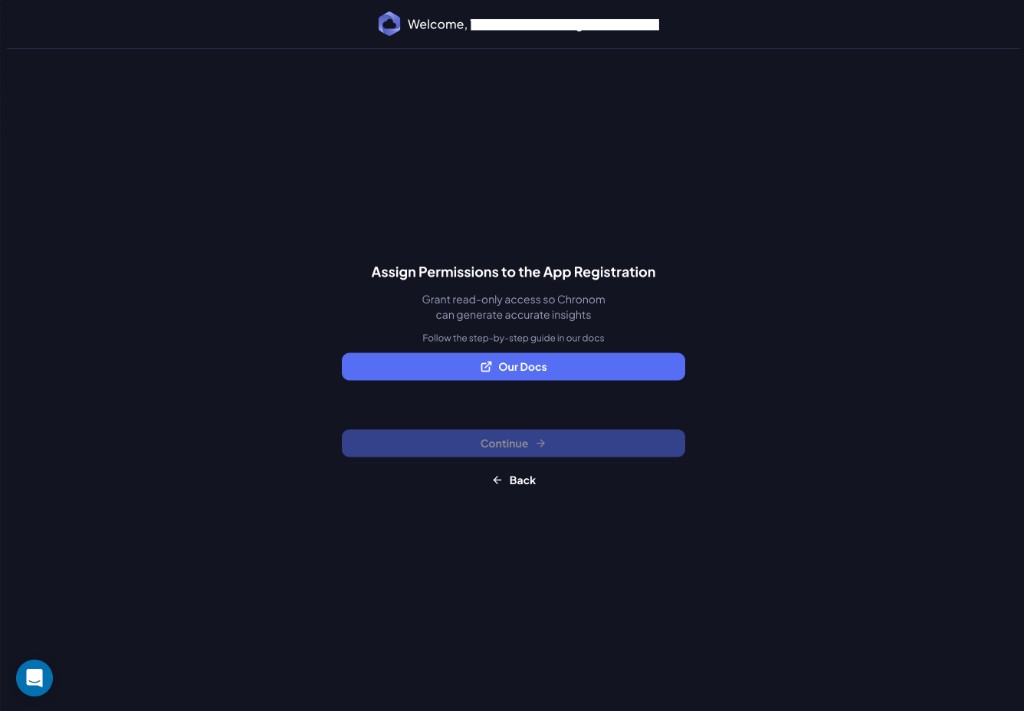
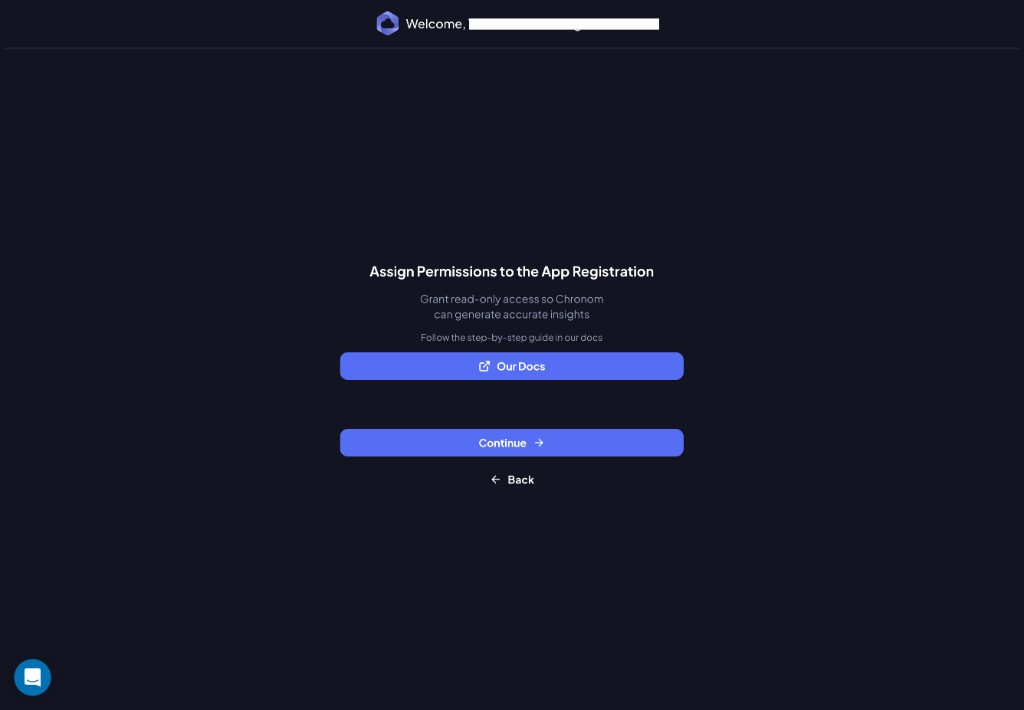
Step 5: Assign Permissions
Grant the App Registration the Microsoft Graph API permissions listed below. For step-by-step Azure Portal instructions, click Our Docs on the wizard screen or refer to Step 2 of the App Registration guide.
Delegated Permission
| Permission | Purpose |
|---|---|
User.Read | Basic user profile access - required by Microsoft for any app that connects to a tenant |
Application Permissions
Add all of the following Application permissions under Microsoft Graph:
| # | Permission | Purpose |
|---|---|---|
| 1 | Directory.Read.All | Read directory data (users, groups) for license mapping |
| 2 | Reports.Read.All | Read M365 usage reports for license optimization |
| 3 | AuditLog.Read.All | Read audit logs to detect stale accounts holding paid licenses |
| 4 | Sites.Read.All | Read SharePoint site metadata for utilization analysis |
| 5 | DeviceManagementManagedDevices.Read.All | Read Intune enrolled device inventory |
| 6 | DeviceManagementApps.Read.All | Read Intune app deployments |
| 7 | DeviceManagementConfiguration.Read.All | Read Intune device configuration profiles |
| 8 | DeviceManagementServiceConfig.Read.All | Read Intune service configuration |
| 9 | SecurityEvents.Read.All | Read security alerts from Microsoft Defender |
| 10 | Agreement.Read.All | Read organizational agreements for compliance posture |
| 11 | TermStore.Read.All | Read SharePoint Managed Metadata term store |
| 12 | eDiscovery.Read.All | Read eDiscovery cases and holds to prevent unsafe recommendations |
| 13 | InformationProtectionPolicy.Read | Read sensitivity labels and policies for Purview utilization |
Granting all permissions - including the last four - gives Chronom the most complete picture of your environment and leads to more accurate cost-saving recommendations. See the M365 Integration overview for details on each permission.
After adding all permissions above, you must click the "Grant admin consent for <Your Tenant>" button in the Azure Portal and confirm by clicking Yes.
This is the most commonly missed step. Without admin consent, Chronom cannot access any M365 data - even though the permissions appear in the list. Verify that every permission shows a green checkmark under the Status column before continuing.
Once all permissions are granted and admin-consented, click Continue.
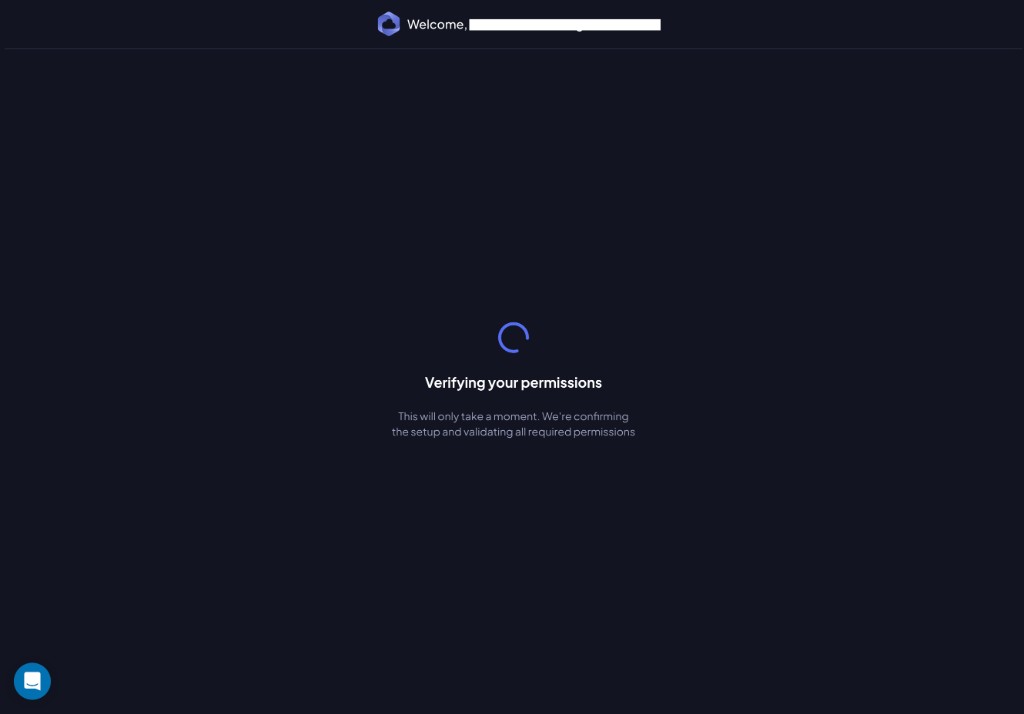
Step 6: Permission Verification
Chronom automatically verifies that all permissions are configured correctly.
If successful, you'll see:
All permissions verified! Everything looks good. You're ready to continue.
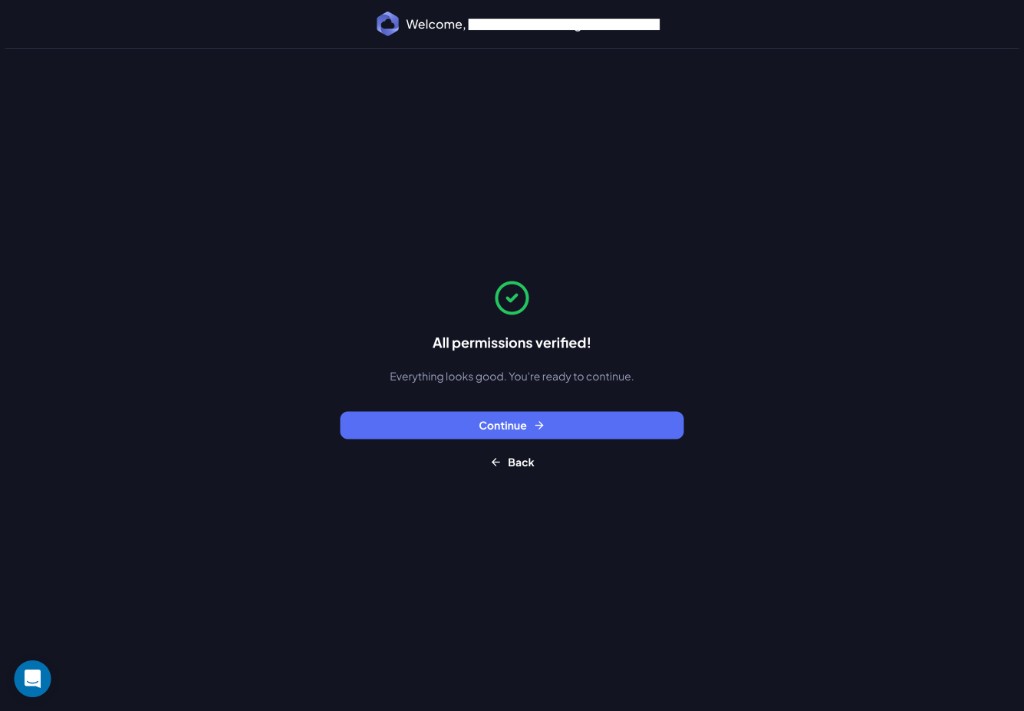
Click Continue to proceed.
Step 7: Set Scan Frequency
Choose how often Chronom scans your M365 environment.
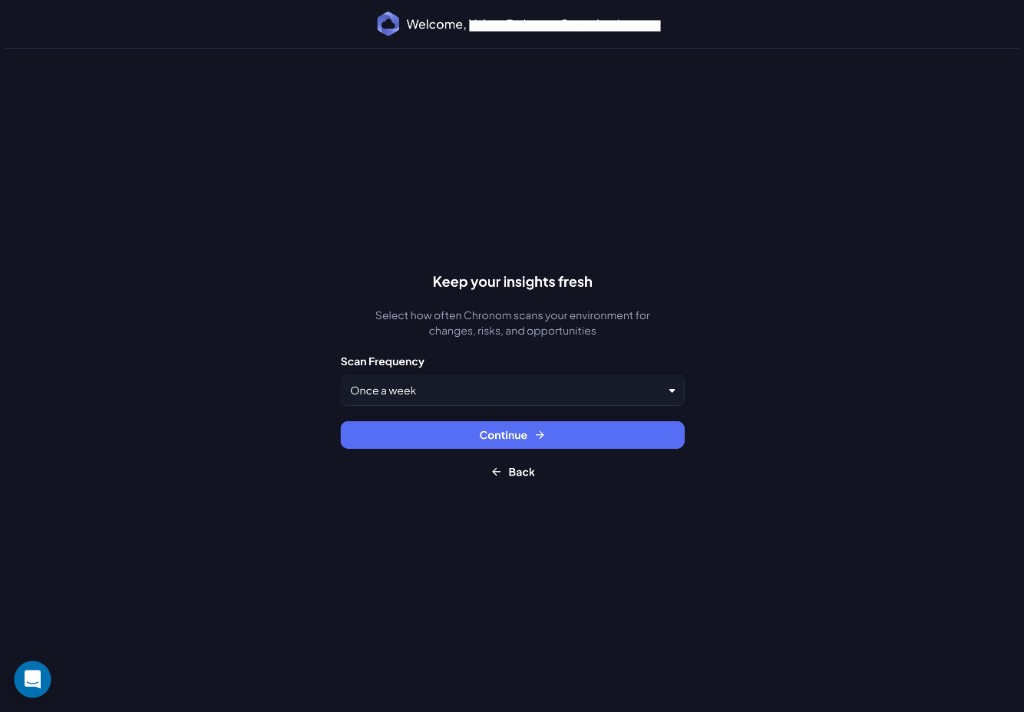
Select a frequency from the Scan Frequency dropdown and click Continue.
Step 8: Procurement Details (Optional)
Upload previous invoices or Microsoft enterprise agreements to help Chronom customize license optimization insights.

- File Upload - Drag and drop or click to upload. Supported formats:
pdf,docx,xlsx,csv,txt,png,jpg(max 3 files). - Custom Pricing Instructions - Enter any special pricing notes, EA terms, or volume licensing details.
Providing your Microsoft Enterprise Agreement or invoices helps Chronom accurately calculate potential savings based on your actual pricing - not list prices.
Click Continue (or Skip) to finish.
Step 9: You're All Set!
Chronom has started analyzing your Microsoft 365 environment. You'll receive an email notification when the analysis is complete.

Click Continue to enter the Chronom dashboard.
Next Steps
Once your M365 data is scanned, explore your license optimization opportunities:
- Navigate to Inventory → Microsoft Licenses to view your license portfolio
- See the M365 License Optimization guide for a detailed walkthrough of the license management features
- Learn more about M365 integration in the M365 Integration overview