AWS Onboarding
This guide walks you through connecting your AWS environment to Chronom using the onboarding wizard. By the end, Chronom will be scanning your AWS accounts and delivering insights.
For advanced users or CLI-based setup, refer to the detailed AWS Integration guides.
Step 1: Select AWS
On the Select Connection Type screen, choose AWS and click Continue.

Step 2: Go To AWS
Chronom generates a unique External ID for your organization and presents two deployment options:
| Option | Description |
|---|---|
| Single Account | Deploy a CloudFormation stack to one AWS account. Best for targeted setups. |
| Payer (Root) Account | Deploy an organization-wide CloudFormation StackSet from the management account. Best for connecting all accounts at once. |
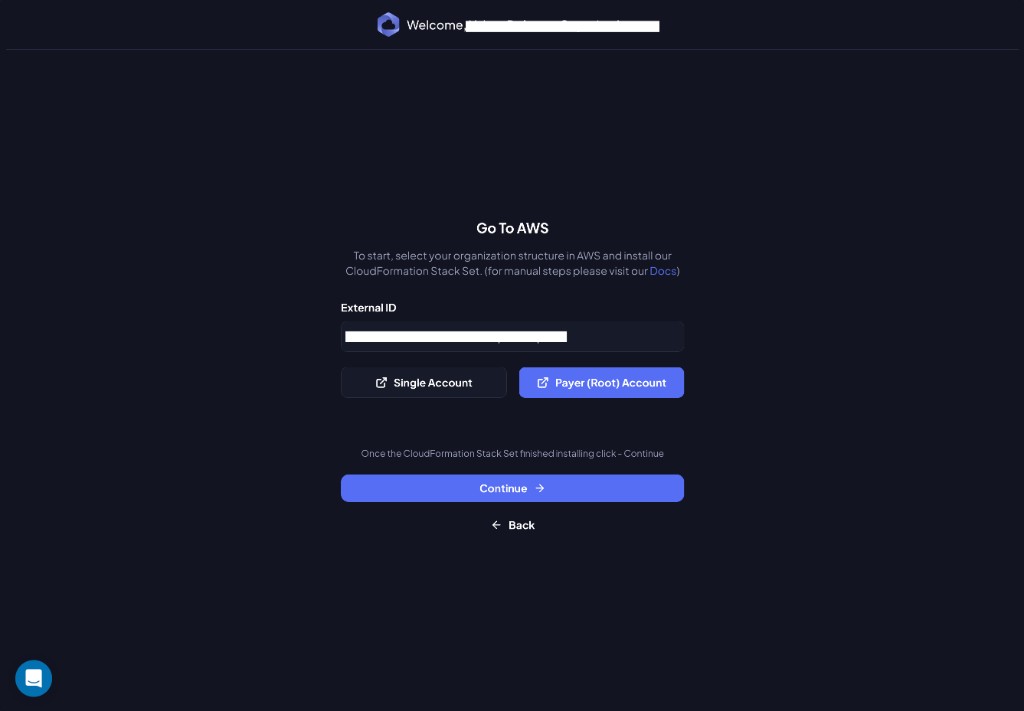
Click the button for your preferred option - it will redirect you to the AWS Console with a pre-filled CloudFormation template.
For detailed manual steps, see:
- Add an AWS Account (single account)
- Add an AWS Organization (organization-wide)
Do not modify the CloudFormation template parameters. The External ID must match between Chronom and AWS for the connection to work.
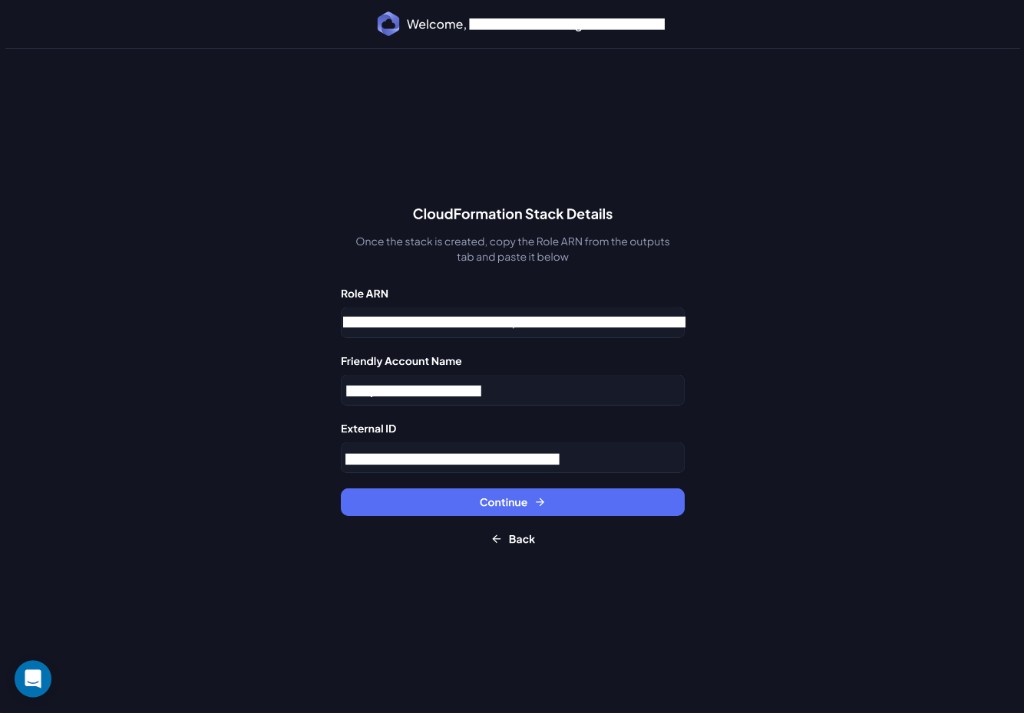
Step 3: CloudFormation Stack Details
Once the CloudFormation stack is created in AWS, return to Chronom and enter the details:
| Field | Where to find it |
|---|---|
| Role ARN | CloudFormation → your stack → Outputs tab → ChronomReadonlyRoleArn (or ManagementRoleArn for organization deployments) |
| Friendly Account Name | A human-readable name for this account in Chronom |
| External ID | Auto-filled - do not change |
Click Continue when ready.
Step 4: Permission Verification
Chronom automatically verifies that the IAM role is correctly configured and that it can assume the role using the External ID.
If everything is set up correctly, you'll see the success screen:
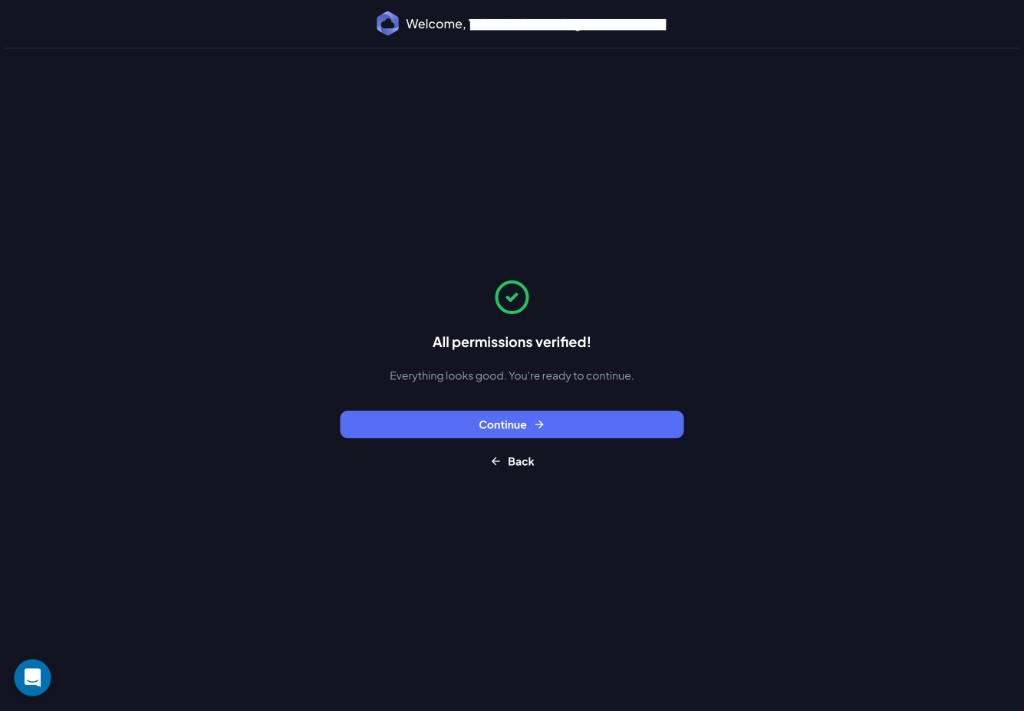
Click Continue to proceed.
Step 5: Select Accounts to Scan
For organization-wide deployments, Chronom detects all accounts in your AWS Organization. Select the ones you want to scan.
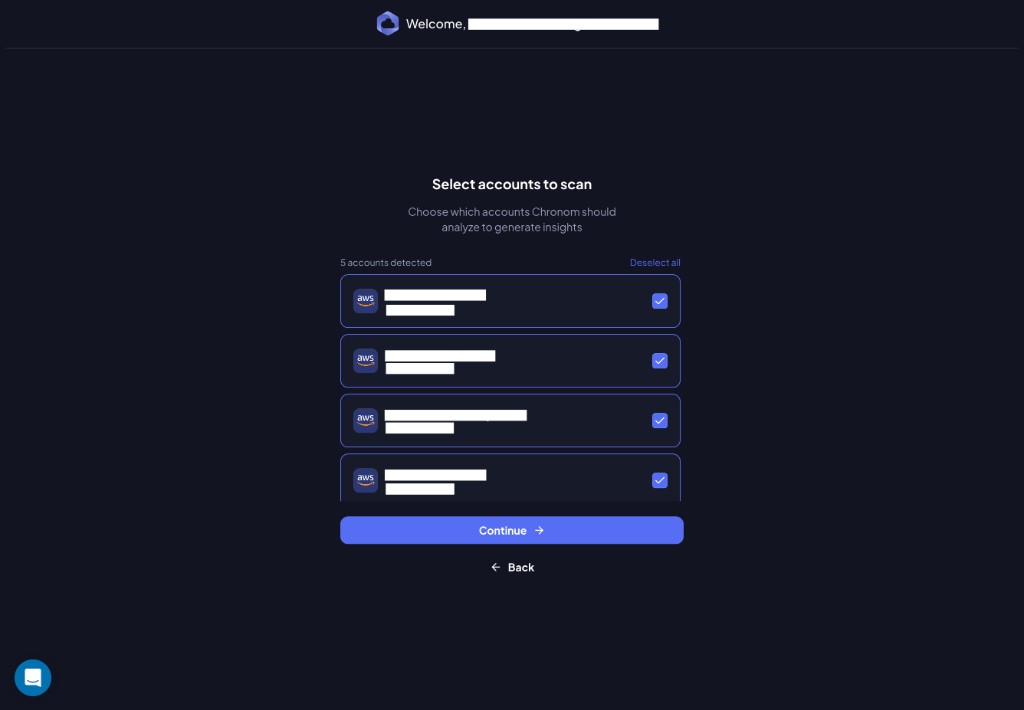
Use the checkboxes to include or exclude accounts, then click Continue.
You can use Deselect all to clear the selection and pick only the accounts you need.
Step 6: Set Scan Frequency
Choose how often Chronom scans your environment for changes, risks, and opportunities.
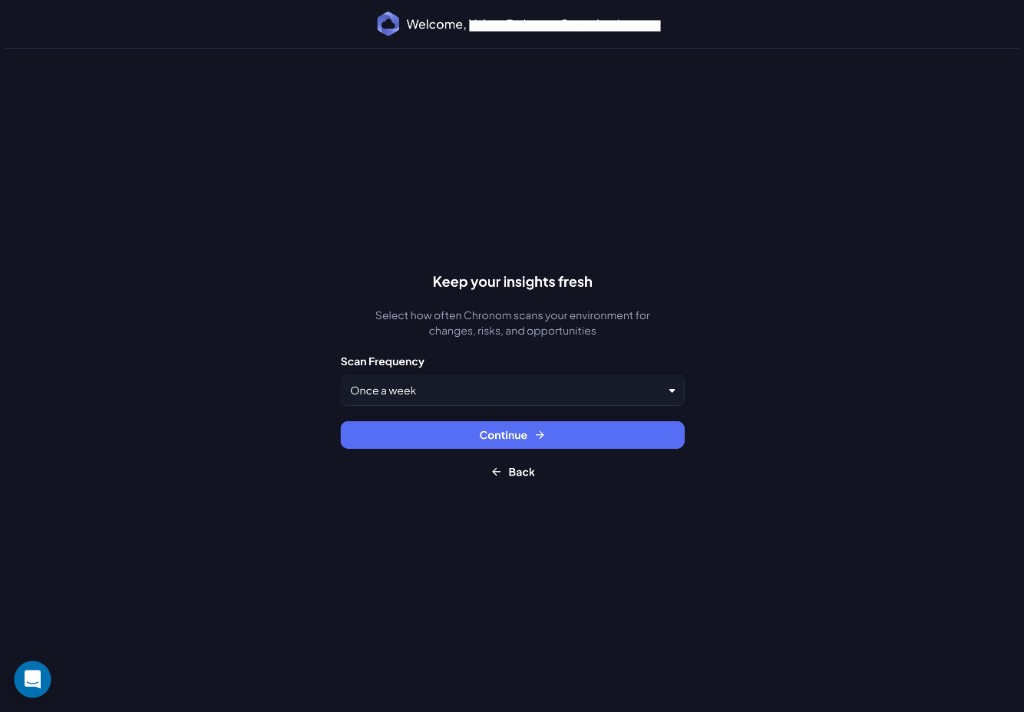
Select a frequency from the Scan Frequency dropdown and click Continue.
Step 7: You're All Set!
Chronom has started analyzing your AWS environment. You'll receive an email notification when the first scan is complete.
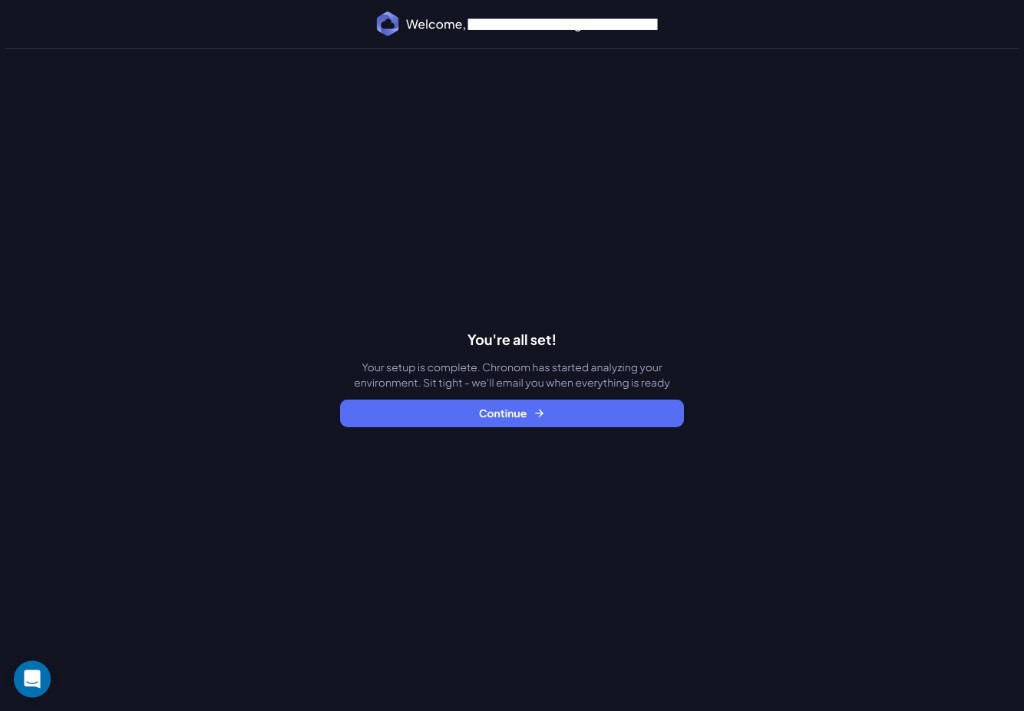
Click Continue to enter the Chronom dashboard.
Troubleshooting
Could not verify credentials (CloudFormation)
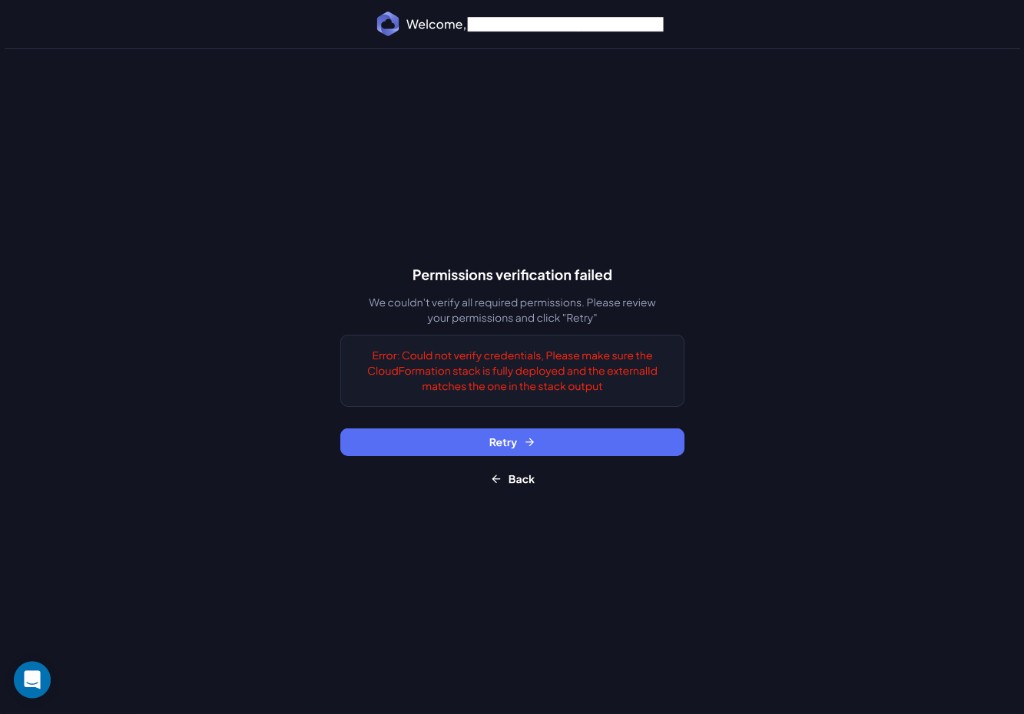
Cause: Chronom could not assume the IAM role. The CloudFormation stack may not be fully deployed, or the External ID doesn't match.
Resolution:
- In the AWS Console, navigate to CloudFormation and verify the stack status is
CREATE_COMPLETE. - Check the stack Outputs tab and confirm the Role ARN matches what you entered in Chronom.
- Verify the External ID in the stack parameters matches the one shown in Chronom.
- If the stack is still creating, wait a few minutes and click Retry.
- If you modified the template parameters, delete the stack and redeploy without changes.
Account already exists
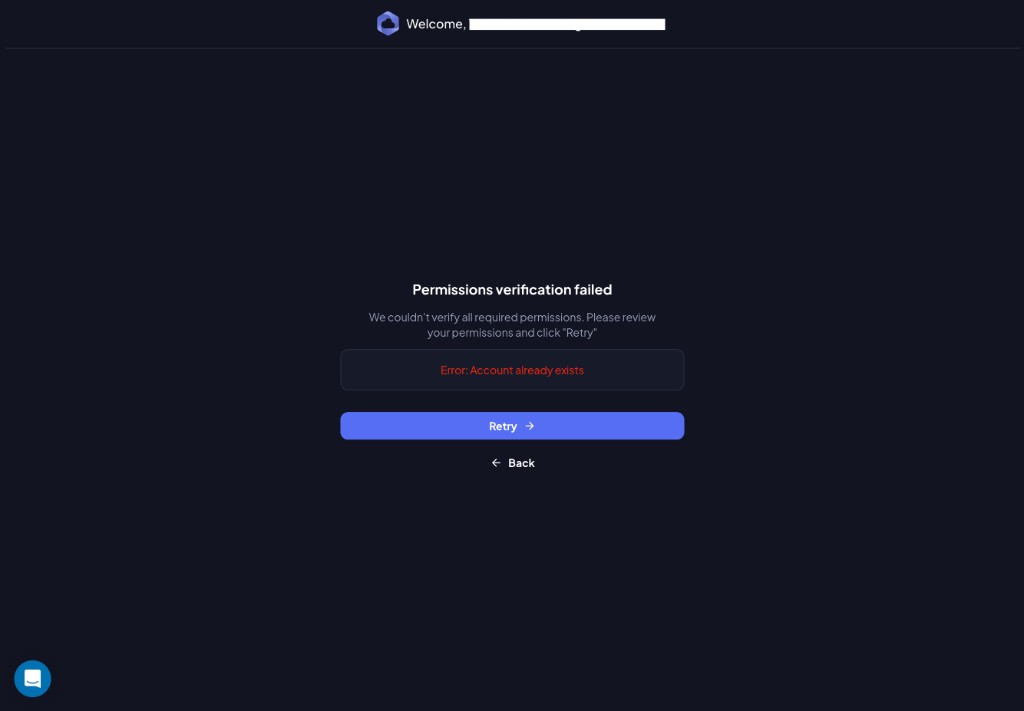
Cause: This AWS account has already been connected to Chronom.
Resolution:
- If you manage multiple Chronom organizations, verify you are in the correct one.
- If you're re-connecting an account that was previously removed, contact support@chronom.ai.